• Work
  • Bio / Clients
  • Contact
  • Studio & Prop Hire
Dominique Eloise Styling

Freelance art director, stylist & writer: food & drink, props, cosmetics.

  • Work
  • Bio / Clients
  • Contact
  • Studio & Prop Hire

Chocolate and Raspberry Fondants Recipe

Fondants are every Masterchef contestant’s worst nightmare. I think I’ve seen only one successful attempt in all the years they’ve been tried! If only they’d all had a look at this recipe… the key here is to make sure that they are chilled completely hard before you put them in the oven.

In this video, I used a dariole mould but these are just as lovely baked in anything- I’ve used teacups and ramekins in the past and just haven’t turned them out. They’re still just as lovely with a dollop of ice cream on top.

When English raspberries are in season, there really is nothing better. However when the season’s over, it might be nice to use something different. Pistachios always work well- whole ones in the centre and chopped ones sprinkled over the top to serve. A crème fraiche would work better to accompany that to give an element of sourness that the raspberries usually give.

This recipe serves 2 but it’s easy to multiply!

Ingredients:

50g dark chocolate

50g butter

50g sugar

1 egg

50g self-raising flour

cocoa

vanilla ice cream – to serve


Recipe:

1.   Stick the chocolate, butter and 50g sugar in the microwave and heat for 30 seconds at a time until melted. Stir throughout.

2.   Leave to stand for 2 minutes and then add the egg. Beat well. Add the flour and mix until smooth.

3.   Butter your dishes and coat the insides with cocoa. Tap out the excess.

4.   Half fill moulds and add a couple of raspberries into the centre. Top up with mix until ¾ full.

5.   Chill in fridge for 30-45 mins until hard. Preheat oven to 200c.

6.   Bake for 14 mins EXACTLY.

7.   Upturn using a plate and serve with ice cream.


tags: chocolate raspberry fondants, chocolate, raspberry, baking, bakery, baker, foodie, food writer, food lover
Thursday 11.03.16
Posted by Dominique Alexander
 

Hallow's Eve Baking

It's here it's here! The night's are drawing in, I've not quite got out my big coat but I still feel as if time is running away with me - it must be Hallowe'en! The spookiest night of the year and one that I have always baked for every year without fail. When I was younger, the best parts were the Hallowe'en parties where a huge variety of freakish food and games kept us entertained, rather then walking round in the cold and dark to knock on stranger's doors in the village! 

I recently found out however that the trick or treating tradition did not come from our American counterparts, as I had wrongly always assumed, but indeed from further in the Pagan and then Christian roots that Hallowe'en prides itself in. It was once a form of begging for 'soul cakes' where the poor would visit the rich's houses and beg for these cakes in return for prayers on all the souls that lived at that address. This was done on Hallow's Eve from the Medieval period all the way up to the 1930's. Originally practiced on both Hallowe'en and Christmas, it soon turned into a request for food or coins and paired with the fun of dressing ghoulish became a firm favourite for Hallowe'en both here and in the States. 

I was also interested to learn that our beloved carved pumpkins were in fact originally carved turnips! Emigrates to the US soon learned that pumpkins and squashes of all kinds were far easier to carve and so took their knives to those instead. Some of the original imagery of carved turnips are even more terrifying than the big friendly orange faces we're used to today; definitely something to do with turnip's wonderfully craggy skin and deep colour range from purple to milky white. 

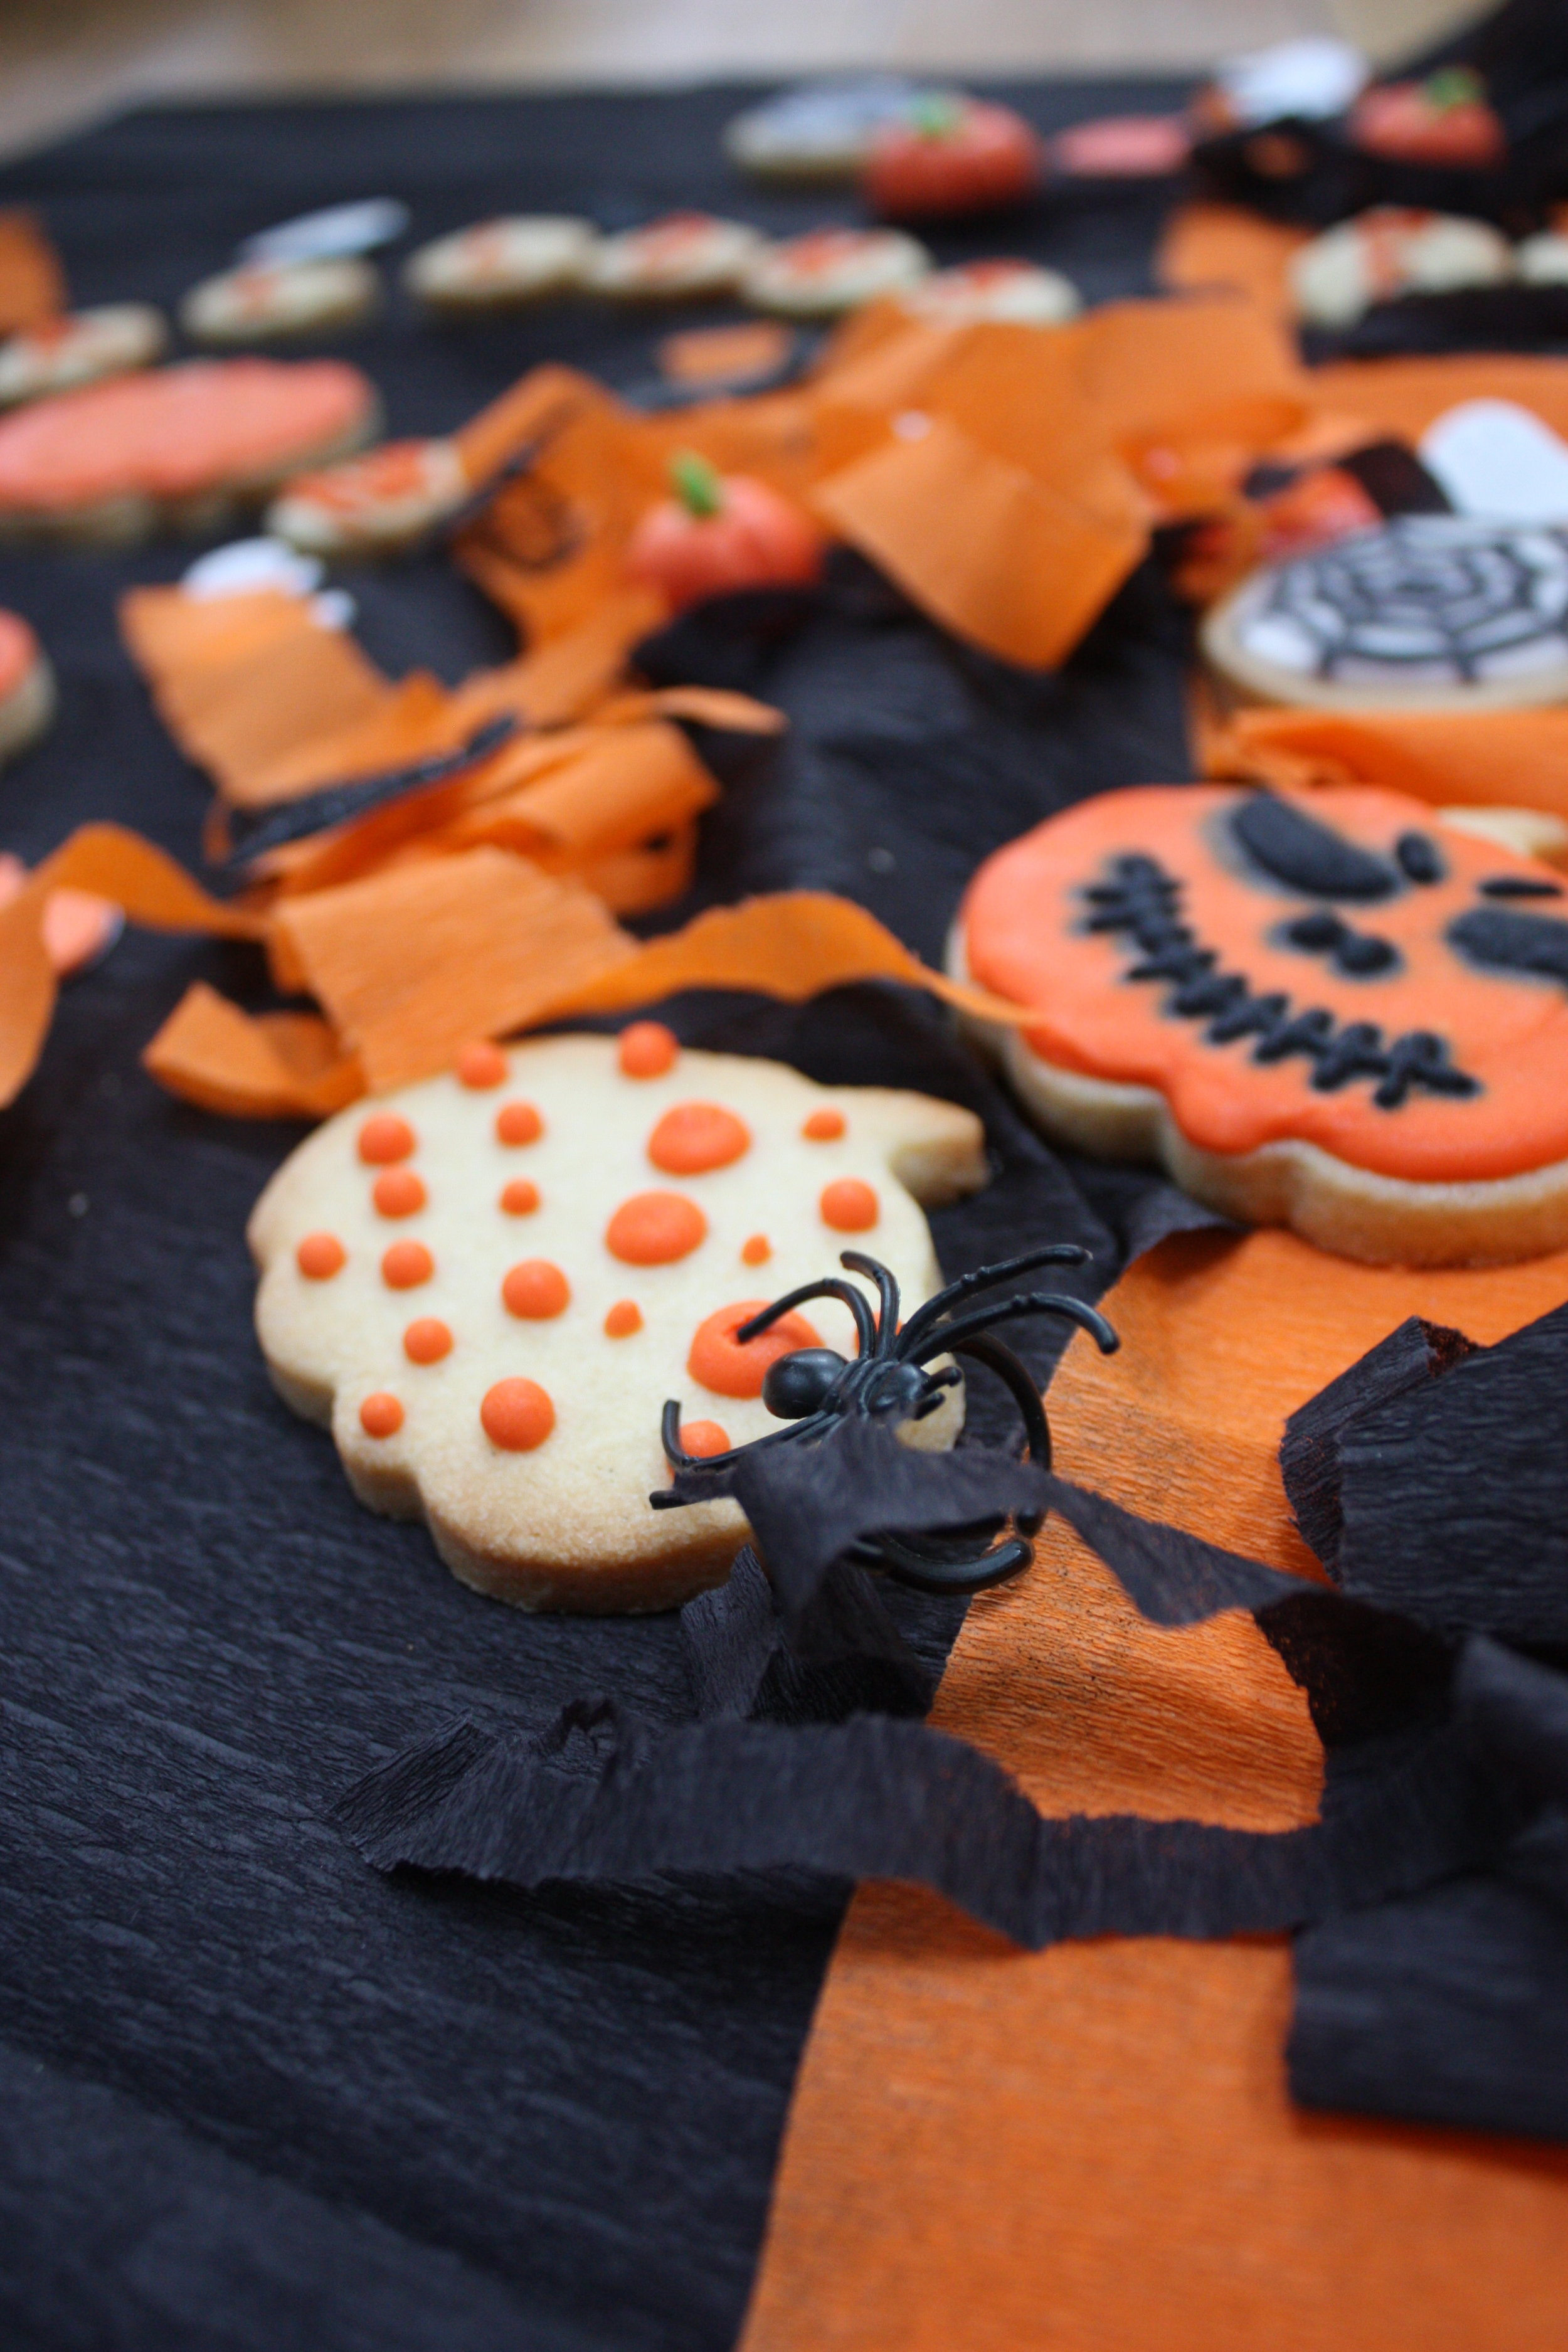
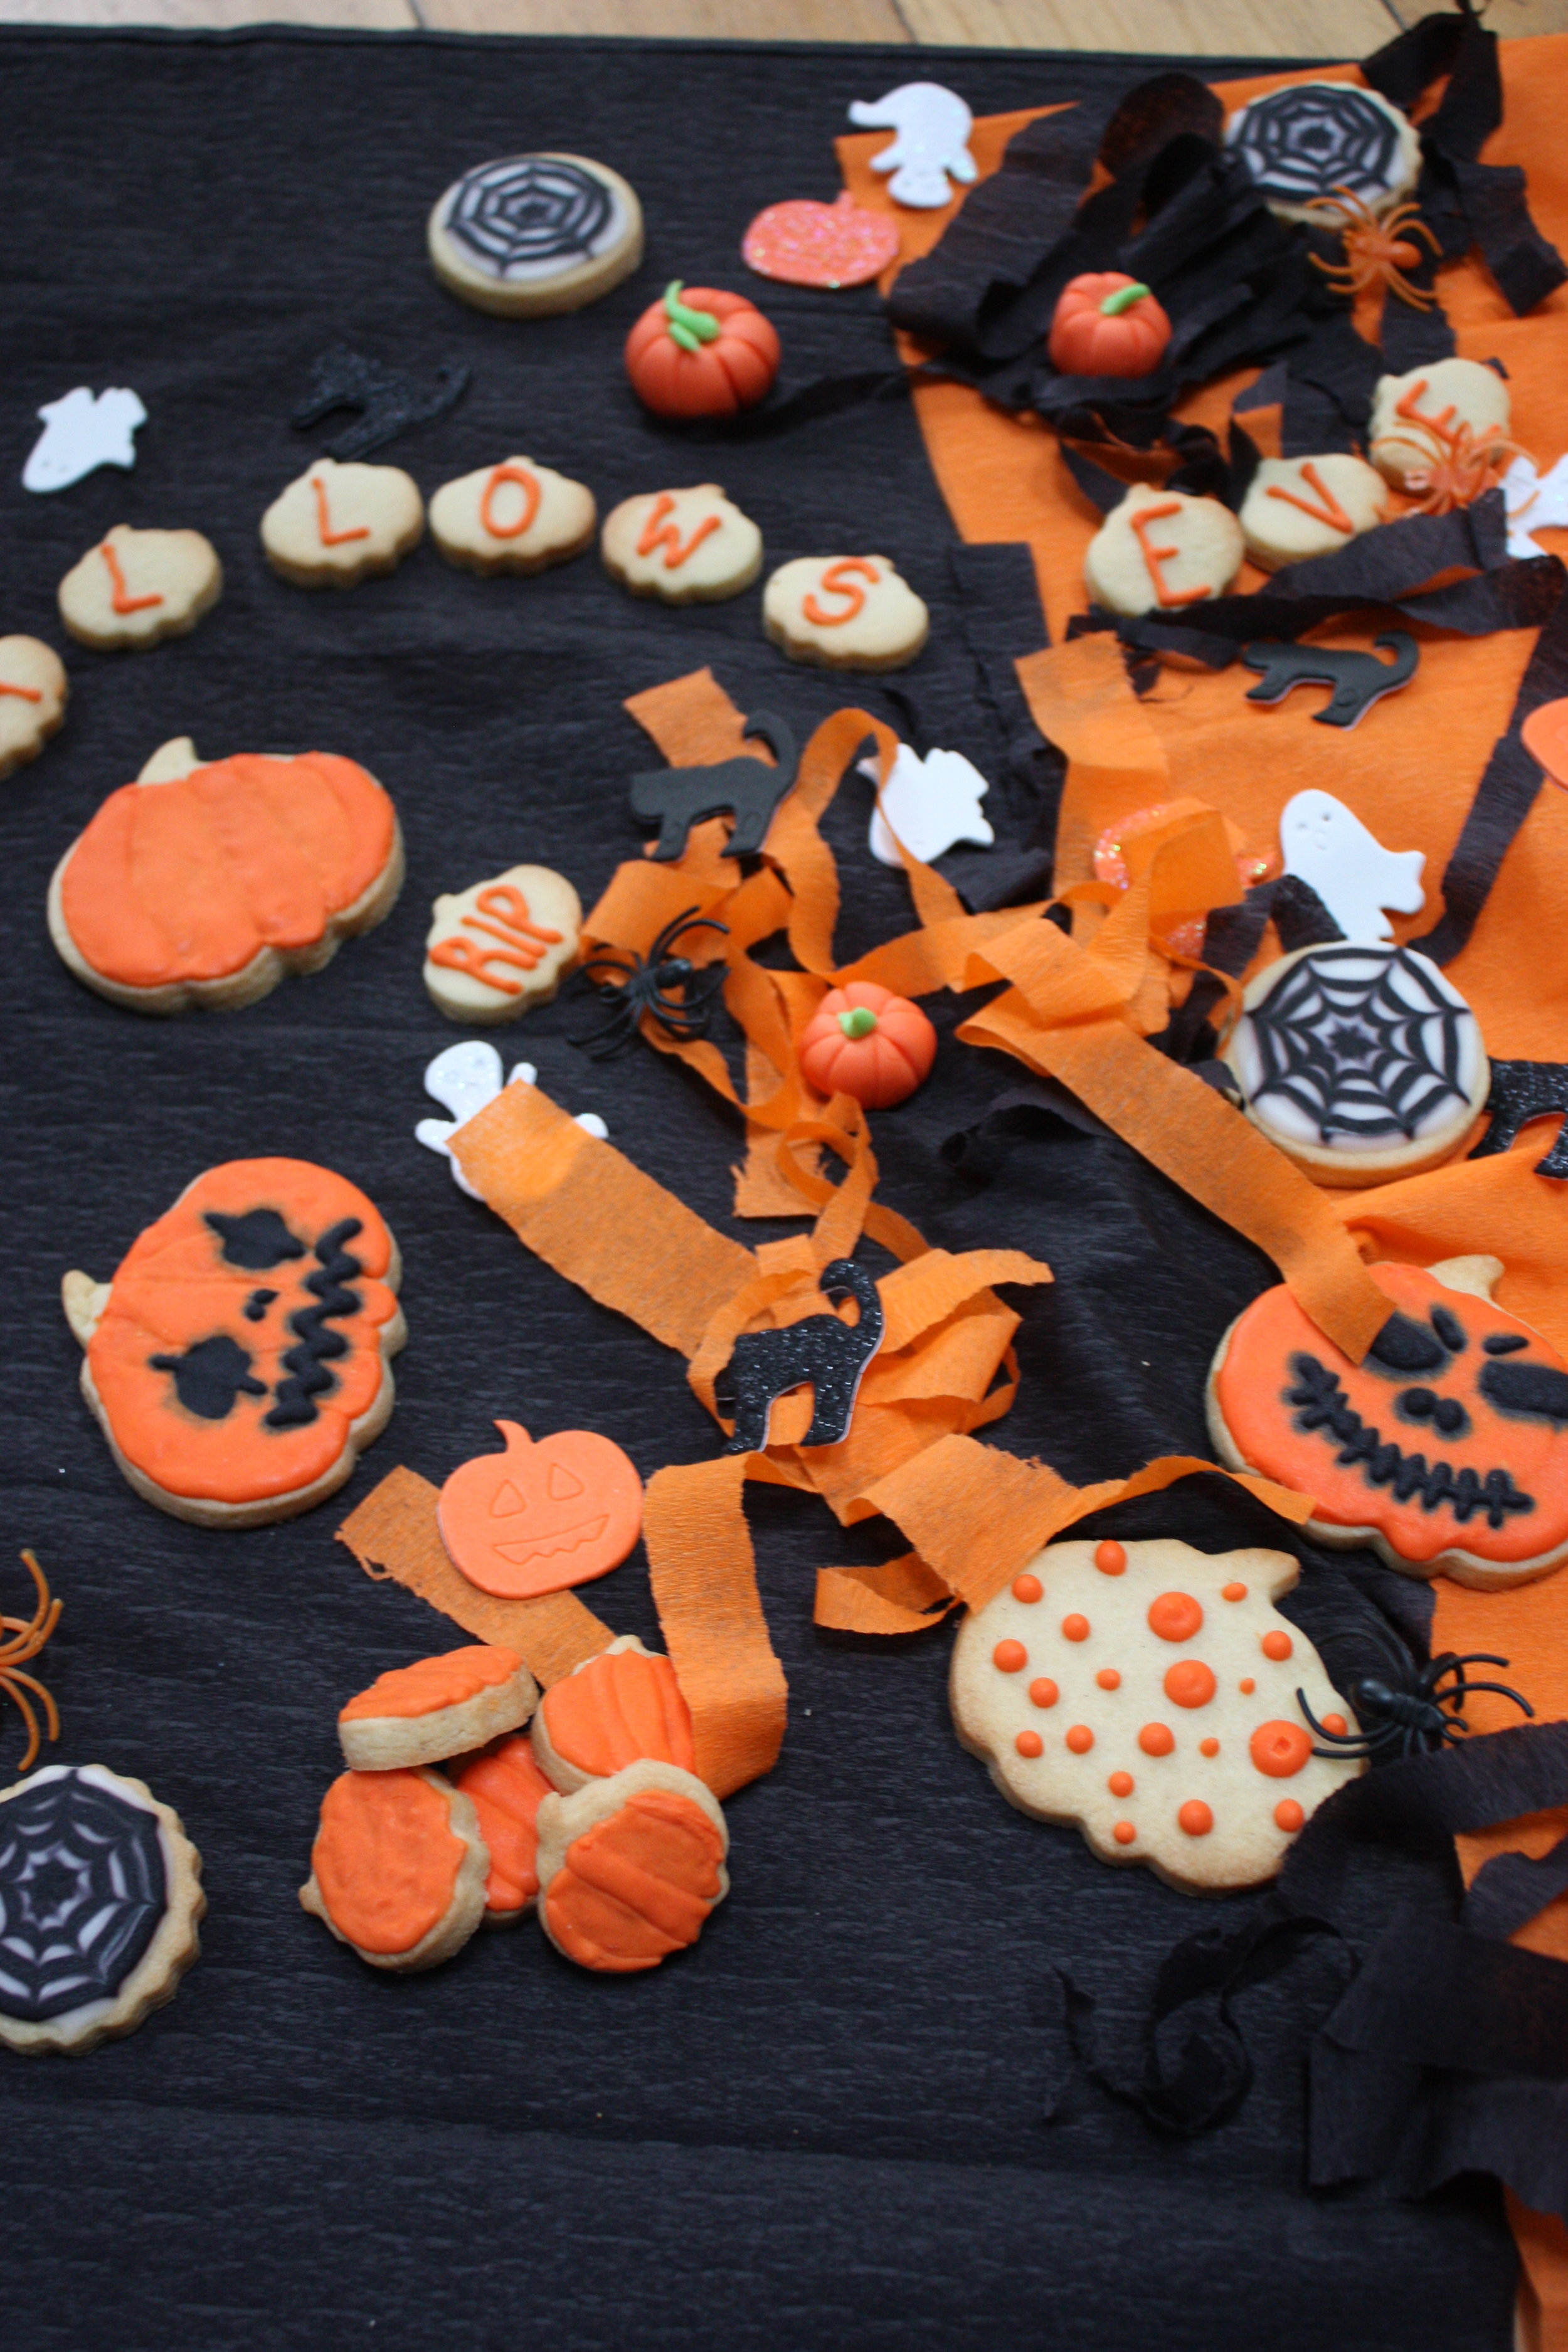
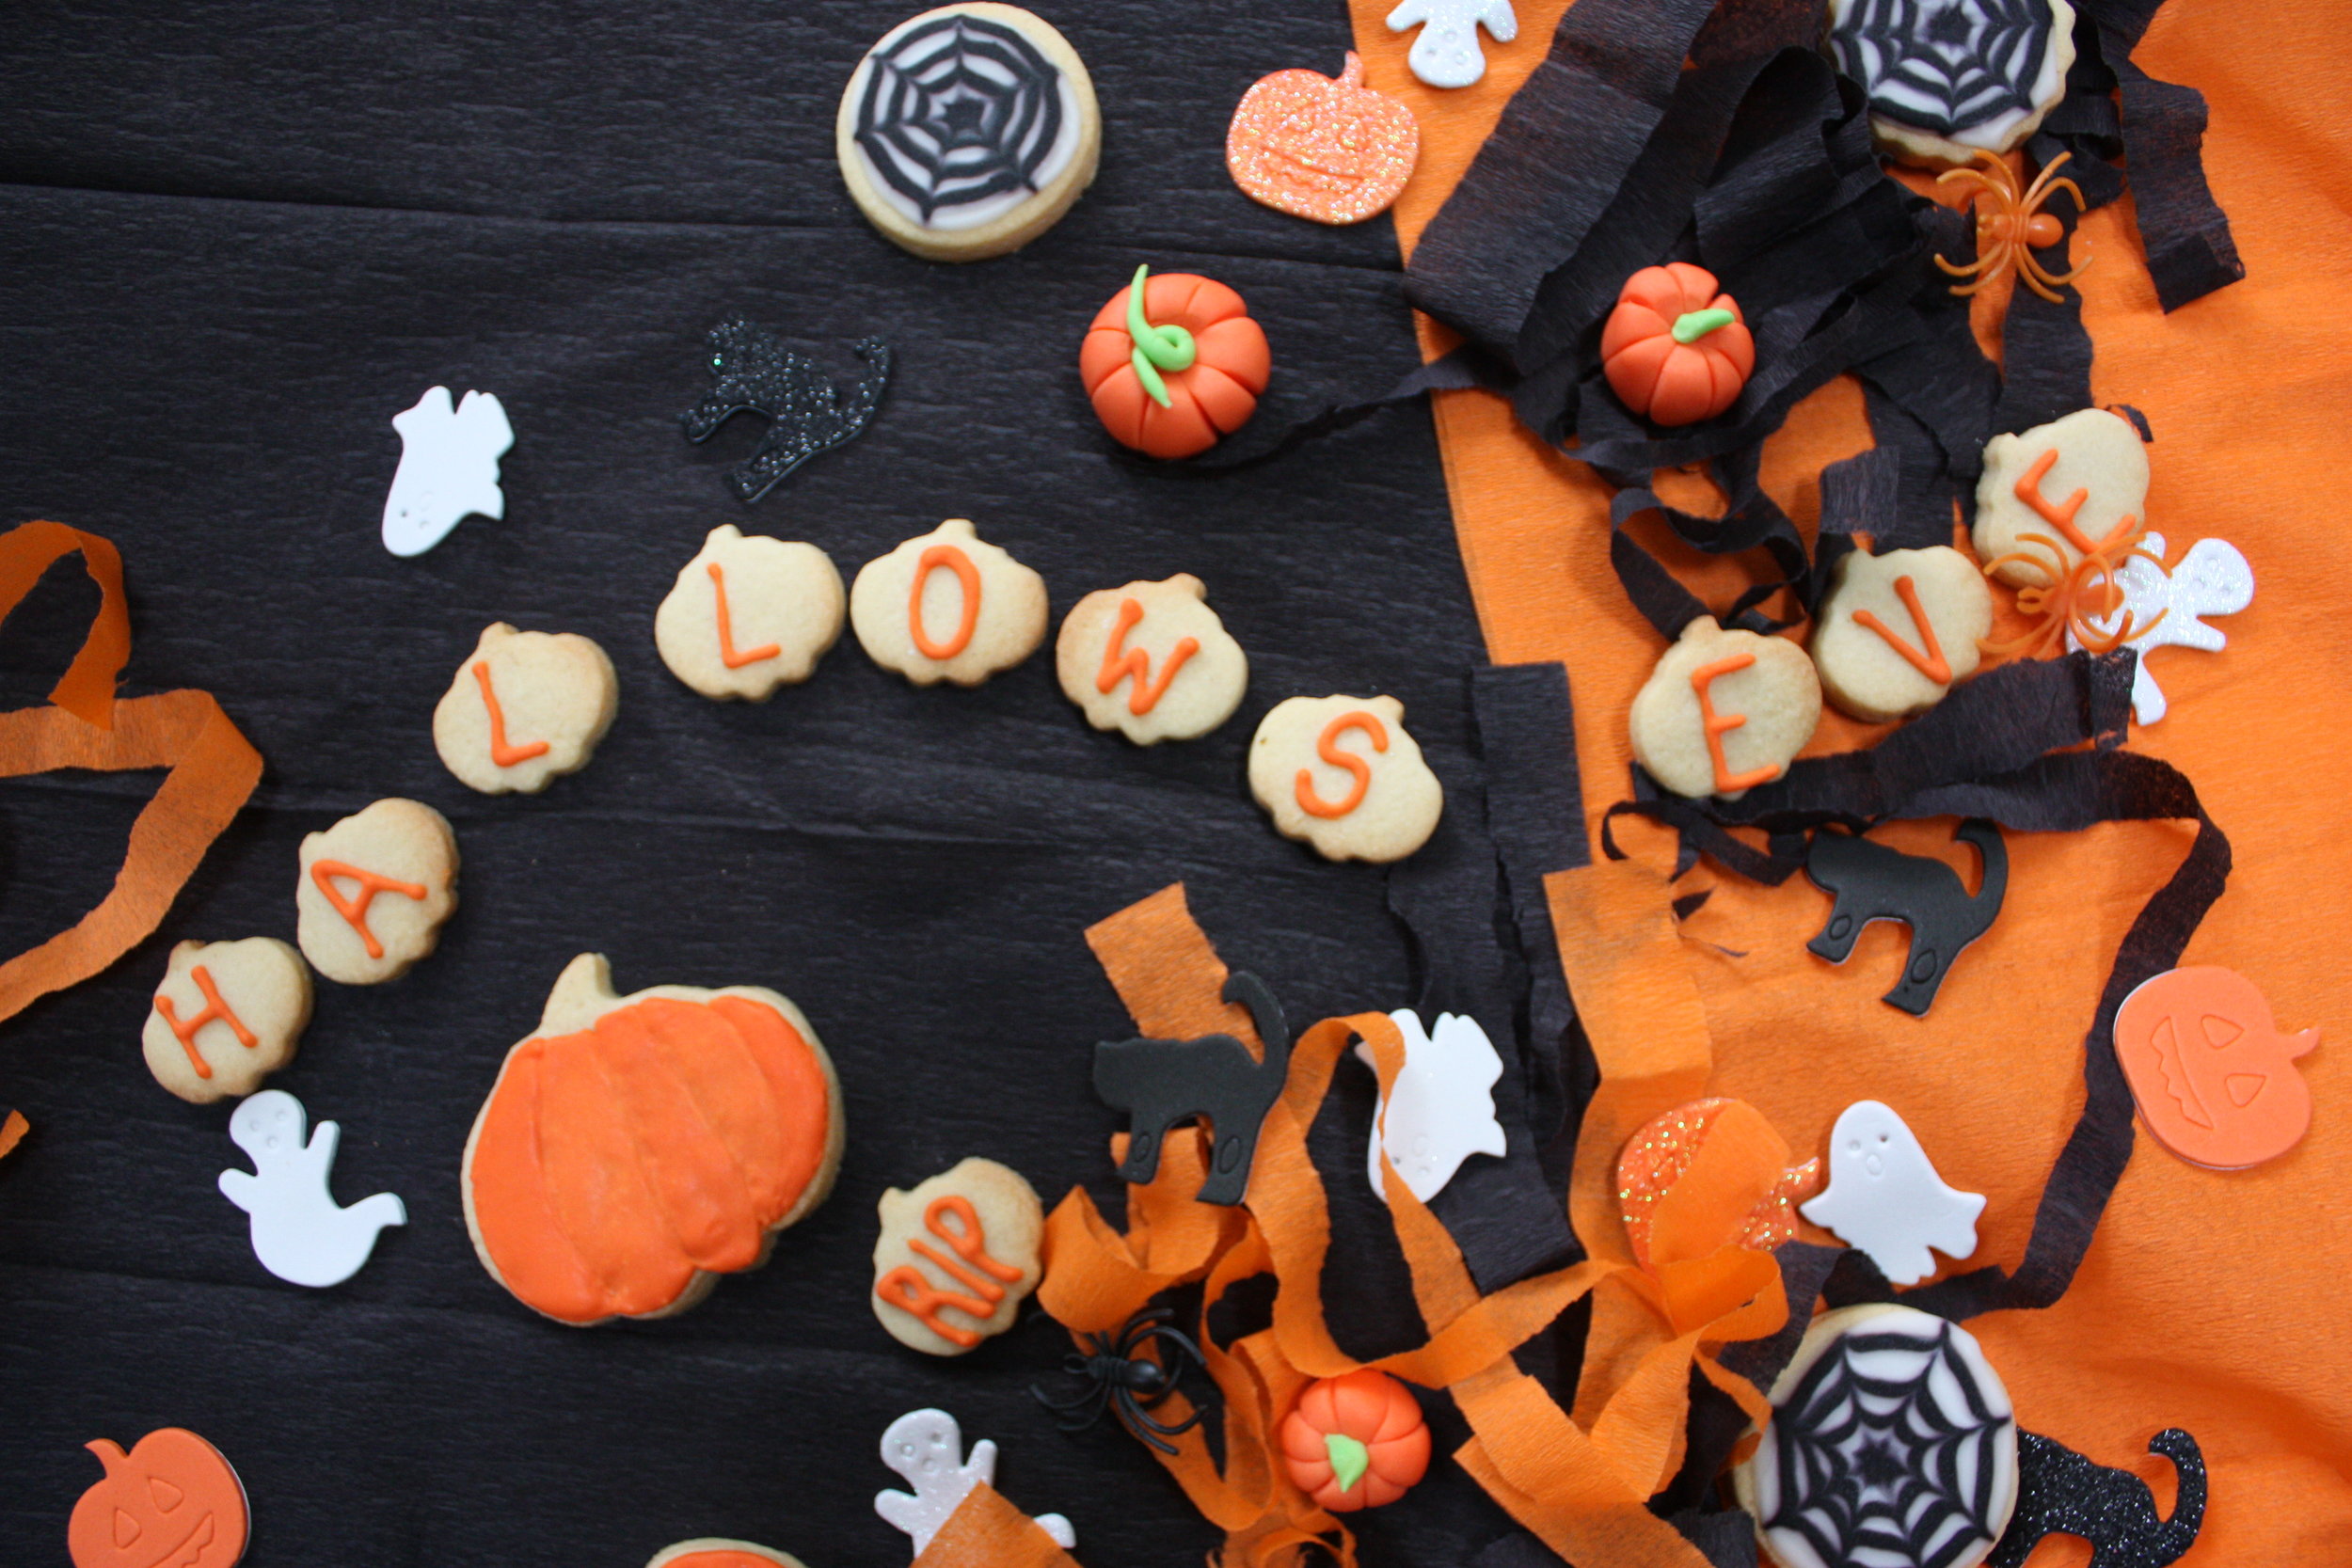
But enough of history! Back to baking... I've always had a pumpkin cookie cutter (lord knows why) and so have always found myself baking treats for trick or treater's as opposed to heading out and buying a mixed fun-size bag of mars bars [side note: whoever named them 'fun size' was obviously having a complete laugh...]. This year, I decided to branch out from the usual glace icing covering and work with royal icing as we've been doing so much detail piping at the bakery recently it seemed a good way of continuing with classic 'baker's piping hand cramp'! I love making a complete spread of a variety of bakes and so changed the design for a few and added some fondant pumpkins for a bit of texture. 

IMG_1699.JPG
IMG_1685.JPG
IMG_1725.jpg
IMG_1691.JPG
IMG_1735.jpg
IMG_1699.JPG IMG_1685.JPG IMG_1725.jpg IMG_1691.JPG IMG_1735.jpg

Flying Tiger, as usual, came up trumps for my little spiders and ghosts and I couldn't not make reference to Harry Potter's most famed evening could I? Hence the little RIP, Lily & James Potter mini-pumpkins too... Another famous Hallowe'en Party is of course the one in 'Mean Girls' so I couldn't forget that either! Karen's 'K' diamante applique being one of my favourite moments of that film as well as the now legendary line, 'I'm a mouse, duh!'... 

I used my classic shortbread recipe as I do for most decorated biscuits. It's so easy to do and has such a delicious flavour it can really work well on its own without much icing or it pairs well having a little more sweetness added to it with fondant or royal icing as I made here. My royal icing recipe is the most simple part of this whole thing - no weighing needed! I simply take as much icing sugar as I think I'll need and then add egg whites until I get the correct consistency. You're looking for a relatively thick icing to pipe outlines and words with and then you can always add another egg white or just a drop of water to let it down for filling in or 'flooding' as its properly called. I'll do a little icing tutorial post soon so you can see some videos of the correct consistency for different ones as well as how to get the lightest, fluffiest buttercream icing ever! 

tags: halloween, things, baking, bakery, baker, cookie, pumpkins, royal icing, icing, piping
Sunday 10.30.16
Posted by Dominique Alexander
 

Earl Grey Tea Biscuits Recipe

What’s better than dipping a biscuit in your tea? A tea flavoured biscuit, that’s what. DOUBLE Earl Grey. If you can’t get enough of your favourite tea then this is the ideal accompaniment and if you’ve a friend who goes mad for a particular blend this is such a thoughtful gift! When making biscuits for dipping, I always slightly over bake for a crisper edge so they don’t completely disintegrate on entering the mug… Remember though that these will harden while cooling so they will still be soft when they come out of the oven. Golden brown edges are enough for these little dudes. Sprinkle with caster sugar while cooling for friends with a mega sweet tooth… 

Makes 10

Ingredients:

250g salted butter

3 or 4 Earl Grey teabags

50ml milk

140g caster sugar

325g plain flour

1 egg, beaten

1tsp vanilla paste


Recipe:

1.   Melt the butter in the microwave and empty 2 or 3 of the tea bags into it. Stir to distribute evenly and then leave to set in fridge. Warm milk gently in microwave and add a teabag to infuse (not opened!) Once both are cooled you can bake!

2.   Rub together the butter and the flour until you have a fine breadcrumb like texture.

3.   Stir in the sugar and vanilla paste and then the egg. Add the milk until the dough comes together. Cling film and then chill in the fridge for 30 minutes.

4.   Roll out until a thickness of about 2cm and cut out whatever shapes you fancy- tea bag shapes welcome!

5.   Chill in the fridge to harden up again (to keep their shape) while the oven preheats to 160c (180 fan). Bake for 10-12 minutes until they’re golden brown. Leave to cool and harden on a baking tray

6.   Dip in TEA!

tags: bakery, baking, baker, cookies, biscuits, earl grey, foodie, food blogger, food writer
Tuesday 09.20.16
Posted by Dominique Alexander
 

Gin and Tonic Cake Recipe

This uses a very special gin from Heston’s Waitrose collection but of course any wonderful gin will do. The freshness of lime in this cake gives a zestiness rarely found without tropical flavours so here it is really allowed to shine. To get the best from your zest, use a microplane to get just the brightest green zest from your limes. If you don’t have one (although I highly suggest you buy one, they are seriously a game changer…) you can finely grate them but make sure you don’t get the white pith- this will make it bitter rather then fragrant.

This cake actually gets better with time so don’t panic that you can’t finish it in one sitting, it will be equally delicious- in fact more so, a few days after baking if kept in an airtight tin. 

Ingredients:

225g butter

225g caster sugar

4 eggs

225g self-raising flour

4 shots Earl Grey gin

2 limes, zest


Icing:

25ml tonic water

8 shots gin

150g granulated sugar

2 limes, juice


Method:

1.   Preheat oven to 180. Grease and line loaf tin.

2.   Beat butter, lime zest and sugar together until very pale and fluffy. Add eggs, one at a time and beat completely in to mix between each one.

3.   Fold in the flour, add the gin and then bake in a loaf tin for 45 minutes.

4.   Mix icing ingredients together.

5.   When cake is out of oven, poke holes all over and pour over icing.

6.   Leave to cool properly until a crust forms then slice and serve!

tags: gin, tonic, gin and tonic, cake, gin and tonic cake, heston blumenthal, earl grey gin, foodie, food writer, food blogger, food, baker, bakery, baking
Sunday 09.18.16
Posted by Dominique Alexander
 

Boozy Mini Eccles Cakes Recipe

Eccles cakes improve any afternoon tea spread and with the addition of brandy, these spiked ones are certainly a hit with grown ups! The fruit filling is similar to that of a Christmas cake or Christmas pudding but without the festive spices. Of course, it it ‘tis the season, then please do add some mixed spice or nutmeg to give them a wintery warmth, however just as is with a hunk of cheese is my absolute favourite way of enjoying them. 

Makes 12 mini’s or 6 large

Ingredients:


For the pastry:

250g block of butter (frozen)

350g plain flour

pinch of salt

ice water


For the cakes:

In addition to the above pastry or 1 pack shop bought puff pastry

200g sultanas

50g mixed peel

75ml brandy

juice and zest of 1 orange

zest of 1 lemon


100g soft brown sugar

1 tsp each of ground cinnamon, nutmeg and ginger

50g butter

50g brown sugar, plus 2tbsp extra for scattering


Recipe:

1.   The night before wrap the butter in foil and stick in the freezer. Pop your sultanas and mixed peel in a large bowl and let soak in the brandy and orange juice overnight too.

2.   The next day, grab a large bowl and sift the flour and salt in. Keeping the butter in the foil to keep it cold, grate it into the flour. Dip the end in the flour occasionally to make it easier. Take a knife and start to mix the butter and flour together. Sprinkle a tbsp. of water over and still using the knife, add a couple more to bring the pastry together. Finally use your hands to squish it into one mass. Cling wrap and stick in fridge to harden.

3.   While waiting for pastry to harden, melt the butter for the cakes and stir it into the sultanas and peel. Add the sugar and spices. Set aside to cool to room temperature.

4.   Preheat the oven to 200c. Roll out the pastry and cut out circles. Dollop a spoonful of the fruit mix in the centre and pinch up the sides. Place on a baking tray, pinch side down and slit the tops.

5.   Bake for 15-20mins or until golden brown and then scatter with sugar. Delicious warm with a cuppa or cold with a hunk of Wensleydale.

tags: rough puff pastry, pastry, puff pastry, eccles cakes, spiked cakes, baking, baker, bakery, food blogger, food writer, foodie, food
Friday 09.16.16
Posted by Dominique Alexander
 
Newer / Older